As the sun dips below the horizon, the air fills with mouthwatering aromas—it's the perfect time to whip up a batch of homemade salsa. This vibrant concoction is more than just a condiment; it's the life of the party, ready to brighten up tacos, nachos, or even a simple breakfast. My Ultimate Homemade Salsa is crafted with fresh, flavorful ingredients, including juicy tomatoes, zesty onions, and a kick of jalapeño. Plus, it's ready in just 40 minutes—a quick solution for anyone yearning for a healthier alternative to store-bought options. And the best part? You can customize it to your taste, from swapping in milder peppers to adding a hint of sweet tropical fruit. Are you curious to discover how this salsa can elevate your meals? Let's dive in!
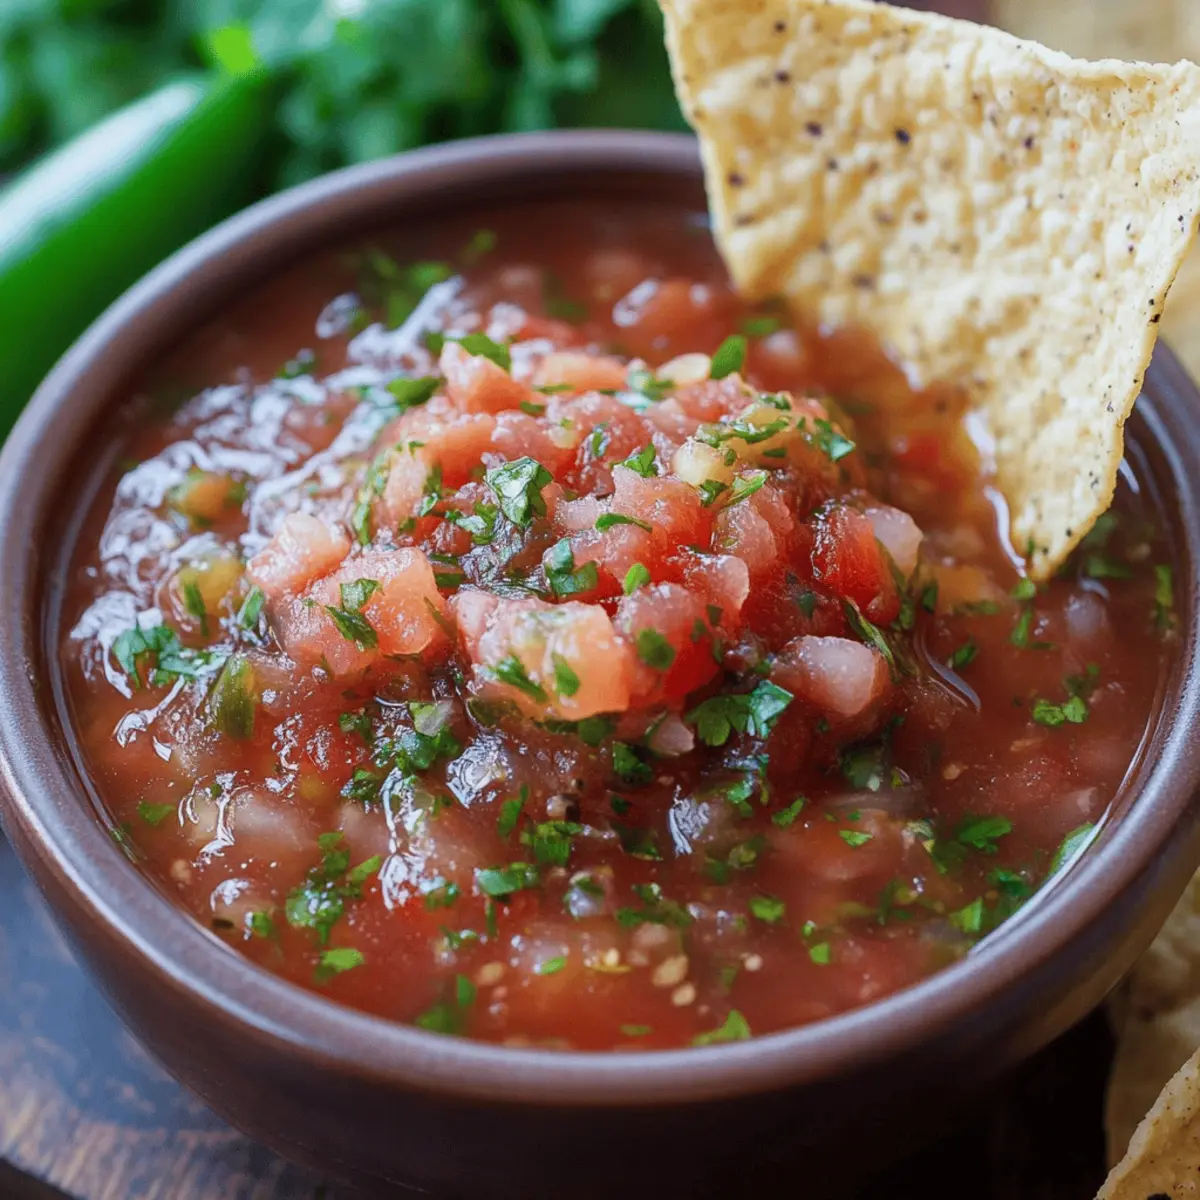
Why is homemade salsa a game changer?
Fresh Ingredients: This salsa bursts with flavors thanks to ripe Roma tomatoes and zesty lime juice, instantly transforming any dish.
Customizable: Whether you crave more heat or a sweeter profile, you can easily adjust the ingredients to suit your palate.
Quick & Easy: Ready in just 40 minutes, it’s a perfect go-to solution for busy weeknights or spontaneous gatherings.
Versatile Use: Enjoy it as a dip, topping, or even mixed into scrambled eggs for a creative breakfast twist! For more meal ideas, check out our Serving Suggestions.
Healthier Choice: By making your salsa at home, you dodge the preservatives in store-bought options, opting for a delectable, wholesome treat.
Crowd-Pleaser: Perfect for parties or family dinners, everyone will love this vibrant addition to the table!
Salsa Ingredients
• Fresh ingredients make all the difference!
For the Salsa
• Roma Tomatoes – The base of the salsa; provides sweetness and acidity. Use any ripe tomatoes if Roma is unavailable.
• White Onion – Adds crunch and sharpness; can be substituted with red onion for a milder flavor.
• Garlic – Enhances flavor depth; fresh garlic lends a potent kick while powdered garlic adds convenience.
• Jalapeño Peppers – Provides heat; adjust quantity based on spice preference or substitute with poblano for a milder taste.
• Cilantro – Adds freshness; can be replaced with parsley if cilantro isn't preferred.
• Limes – Provides acidity; lemon juice can be used as a different citrus alternative.
• Ground Cumin – Introduces earthiness; omit for a lighter flavor if desired.
• Chili Powder – Adds warmth; adjust quantity according to your taste.
• Cayenne Pepper – Optional for extra heat; can be left out for a milder salsa.
• Olive Oil – Aids in roasting and flavor infusion; avocado oil is a great substitute if you prefer.
• Salt and Pepper – Essential for seasoning; adjust to your personal taste.
Optional Add-ins
• Fruits (e.g., mango or pineapple) – Incorporate for a sweet twist and an exciting flavor profile.
• Black Beans – Add for a heartier salsa, making it perfect for dipping or topping.
Step‑by‑Step Instructions for Ultimate Homemade Salsa
Step 1: Preheat the Oven
Begin by preheating your oven to 400°F (200°C). While it's warming up, line a baking sheet with parchment paper to make cleanup easy. This initial step is crucial for roasting the vegetables, which will enhance the flavors of your salsa.
Step 2: Prepare the Tomatoes
Wash your Roma tomatoes thoroughly under cold water. Once clean, slice them in half and arrange them cut-side up on the prepared baking sheet. The roasting process will caramelize their natural sugars, making your homemade salsa even tastier.
Step 3: Add Onions and Jalapeños
Chop the white onions and jalapeños into small pieces. Scatter them around the tomatoes on the baking sheet, ensuring even distribution. Their sharpness and heat will meld with the tomatoes as they roast, adding depth to your flavorful salsa.
Step 4: Drizzle with Olive Oil
Generously drizzle olive oil over the vegetables on the baking sheet. This will help them roast evenly and prevent sticking while enhancing the depth of flavor in your salsa. A good coating will create a deliciously rich taste.
Step 5: Roast the Vegetables
Place the baking sheet in the preheated oven and roast the vegetables for about 20-25 minutes. Keep an eye on them; the tomatoes should soften and show a charred edge, which adds a wonderful smoky flavor to your salsa.
Step 6: Cool the Roasted Mixture
Once you’ve achieved the desired charred look, carefully remove the baking sheet from the oven and let it cool for a few minutes. This cooling time will ensure you can handle the roasted vegetables without burns, paving the way for the next blending step.
Step 7: Transfer to Blender
After the vegetable mixture has cooled slightly, transfer the roasted tomatoes, onions, and jalapeños into a blender. This will be the base of your ultimate homemade salsa, so make sure to include all those lovely juices from the baking sheet for extra flavor.
Step 8: Add the Flavor Boosters
To the blender, add minced garlic, fresh cilantro, ground cumin, chili powder, and the juice of two limes. These ingredients will elevate your salsa with fragrant and zesty notes, so don’t forget to blend them in thoroughly for maximum flavor.
Step 9: Blend to Desired Consistency
Blend all the ingredients together until you reach your desired consistency. For a chunkier salsa, pulse briefly; for smoother salsa, let it blend longer. The transformation will be mesmerizing as you witness your homemade salsa coming to life.
Step 10: Season to Perfection
Taste your homemade salsa and season with salt and pepper according to your preference. This final touch is essential; adjusting the seasoning makes sure that every bite bursting with flavor conforms to your taste buds.
Step 11: Chill for Flavor Development
Transfer the salsa into a covered container and chill in the refrigerator for at least 30 minutes. This resting period allows the flavors to meld beautifully, resulting in a fresher and more robust salsa, perfect for your next dip or topping.
Step 12: Serve and Enjoy
Once chilled, your ultimate homemade salsa is ready to be served! Spoon it into a bowl and pair it with tortilla chips, sprinkle it atop tacos, or incorporate it into grilled meats. Experience the vibrant flavors that this salsa brings to your meals!
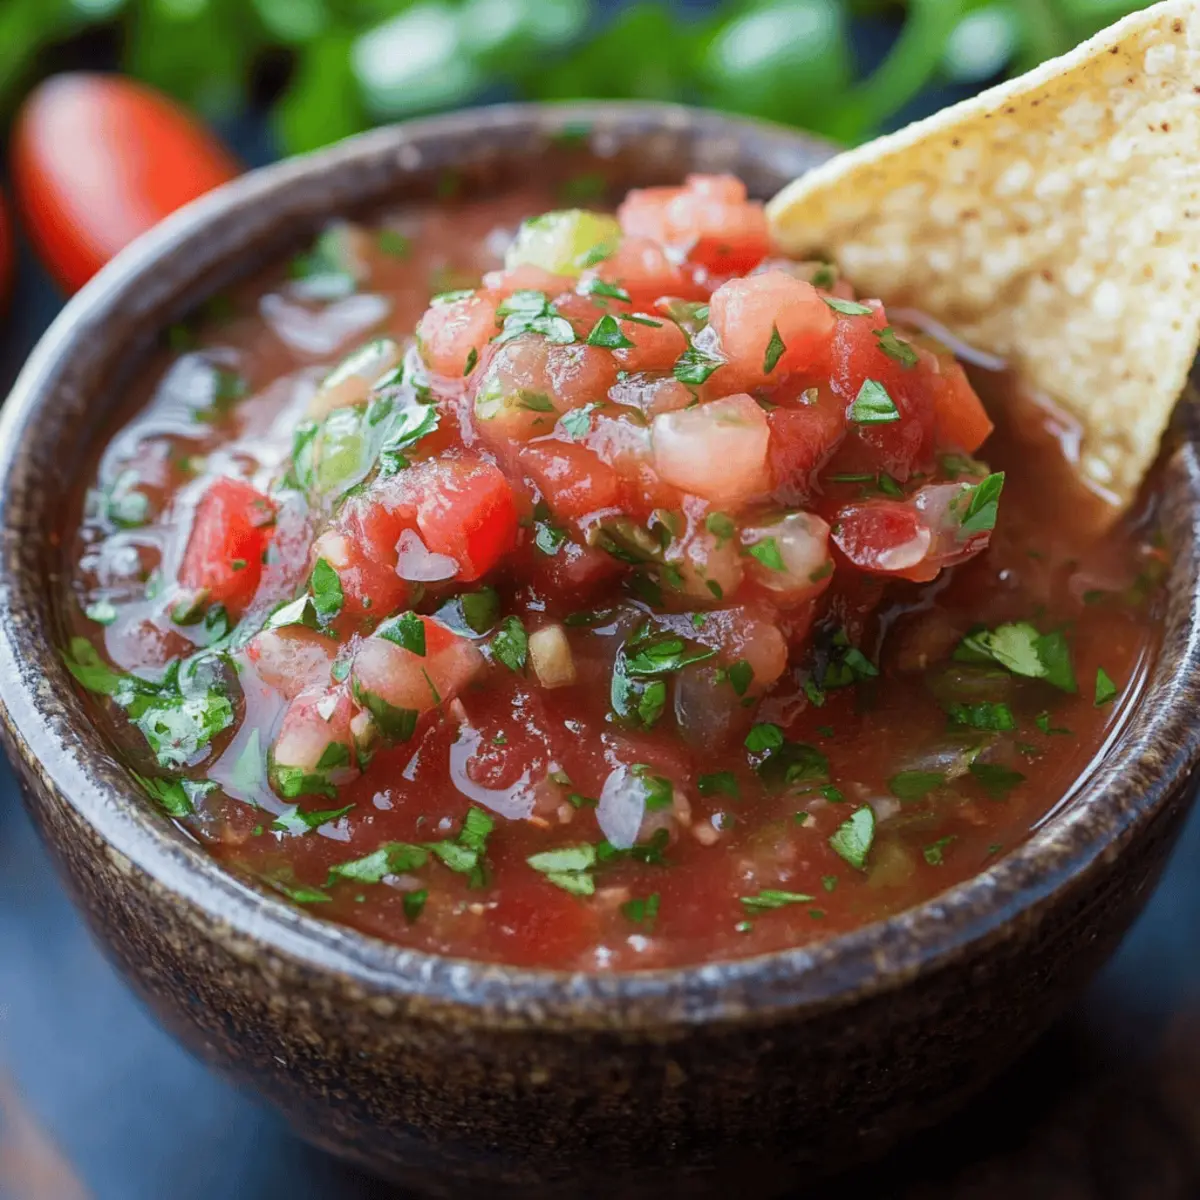
Make Ahead Options
These vibrant homemade salsa ingredients are perfect for meal prep enthusiasts! You can roast the tomatoes, onions, and jalapeños up to 24 hours in advance. After roasting, allow them to cool, and then store them in an airtight container in the refrigerator to maintain their delicious flavors. When you're ready to finish the salsa, simply blend the prepped vegetables with the garlic, cilantro, lime juice, cumin, and spices. This make-ahead method not only saves time for busy weeknights, but it also enhances the flavor as it mingles overnight. Just remember to season to taste before serving for the best results!
What to Serve with Ultimate Homemade Salsa
Elevate your mealtime with delightful pairings that bring out the vibrant flavors of homemade salsa.
- Crispy Tortilla Chips: A classic duo, these chips provide the perfect crunch for scooping up your fresh salsa, enhancing the experience.
- Grilled Fish Tacos: The zesty freshness of the salsa complements the flavors of grilled fish beautifully, adding a burst of color and flavor.
- Charred Chicken Skewers: Pairing your salsa with grilled chicken adds a smoky richness, making every bite irresistible and satisfying.
- Guacamole: The creamy avocado dip contrasts wonderfully with the tangy salsa, creating a delightful balance of textures and flavors.
- Corn on the Cob: A side of sweet, buttery corn enhances the salsa's brightness—try sprinkling it with a bit of lime and chili powder for added flair!
- Margaritas: This refreshing cocktail is an excellent match for the zesty kick of salsa, making it an ideal drink for any casual get-together.
- Pineapple Salsa: For an exciting twist, try a pineapple salsa as a topping for tacos or grilled meats, complementing the smoky notes of the homemade version.
- Scrambled Eggs: Stirring some salsa into your morning eggs transforms a simple breakfast into a flavorful fiesta that will wake up your taste buds!
- Vegetable Crudités: Freshly cut vegetables like cucumbers, bell peppers, and carrots offer a crisp contrast, making for a delightful and healthy dipping option.
- Churros: For dessert, serve churros alongside this salsa for a fun and innovative combination, offering a sweet contrast to the spicy, savory bite!
Expert Tips for Ultimate Homemade Salsa
• Roast for Depth: Roasting your vegetables is essential for developing a smoky flavor; skipping this step may leave your salsa lacking depth.
• Adjust Heat Levels: If you prefer less spice, feel free to use bell peppers instead of jalapeños to create a kid-friendly salsa everyone can enjoy.
• Consistent Texture: For a chunkier salsa, pulse the blender briefly. If you want a smoother texture, blend for a bit longer to achieve your desired consistency.
• Taste & Adjust: Always taste your salsa before serving and tweak the seasoning. The right balance of salt and pepper elevates your salsa to a whole new level!
• Chill for Flavor: Don’t rush the chilling process! Allowing your salsa to rest for at least 30 minutes enhances the flavors and makes each bite a burst of freshness.
• Explore Variations: Feel free to mix in fun add-ins like mango or black beans for a unique twist on your salsa, making it a customizable delight perfect for any occasion!
How to Store and Freeze Salsa
Fridge: Store your homemade salsa in an airtight container in the refrigerator for up to 5 days to maintain freshness and flavor.
Freezer: For longer preservation, freeze salsa in a sealed freezer bag or container for up to 3 months. Thaw in the fridge before serving.
Reheating: If desired, gently reheat the salsa on the stove over low heat, stirring occasionally, but it's best served cold to enjoy its refreshing taste.
Enjoy Freshness: Homemade salsa is at its best when used freshly made, retaining that vibrant flavor profile; consider making smaller batches to ensure quality!
Salsa Variations & Substitutions
Feel free to personalize your salsa with these delightful variations that will tickle your taste buds!
- Dairy-Free: Swap out traditional dairy toppings like sour cream for a dollop of homemade guacamole for a creamy contrast.
- Fruity Flavor: Add diced mango or ripe avocado for a tropical twist that enhances both sweetness and texture. This delicious combo is great for summer gatherings!
- Zesty Heat: Replace jalapeños with habaneros for a fiery kick, or mix in some chipotle for smoky heat. Just a teaspoon can pack a punch!
- Heartier Option: Toss in black beans or corn to create a filling salsa perfect for topping tacos or enjoying on its own. Pair it with a refreshing Crisp Salad for a light meal!
- Fresh Herbs: Substitute cilantro with fresh parsley or even mint for a unique twist. These herbs can brighten up the flavor profile and give it a fresh character.
- Citrus Swap: Instead of limes, use grapefruit or blood orange juice for an unexpected citrus dimension that adds a refreshing zing.
- Smoky Flavor: Incorporate smoked paprika or a dash of liquid smoke for that extra depth. Your salsa will transport you to a sunny backyard BBQ!
- Sweet & Spicy: For that sweet heat, mix in diced peaches or pineapple along with sliced jalapeños for a unique fusion that’ll tantalize your taste buds!
Embrace the joy of cooking by making this salsa truly your own and enjoy the delightful flavors that come to life with every bite!
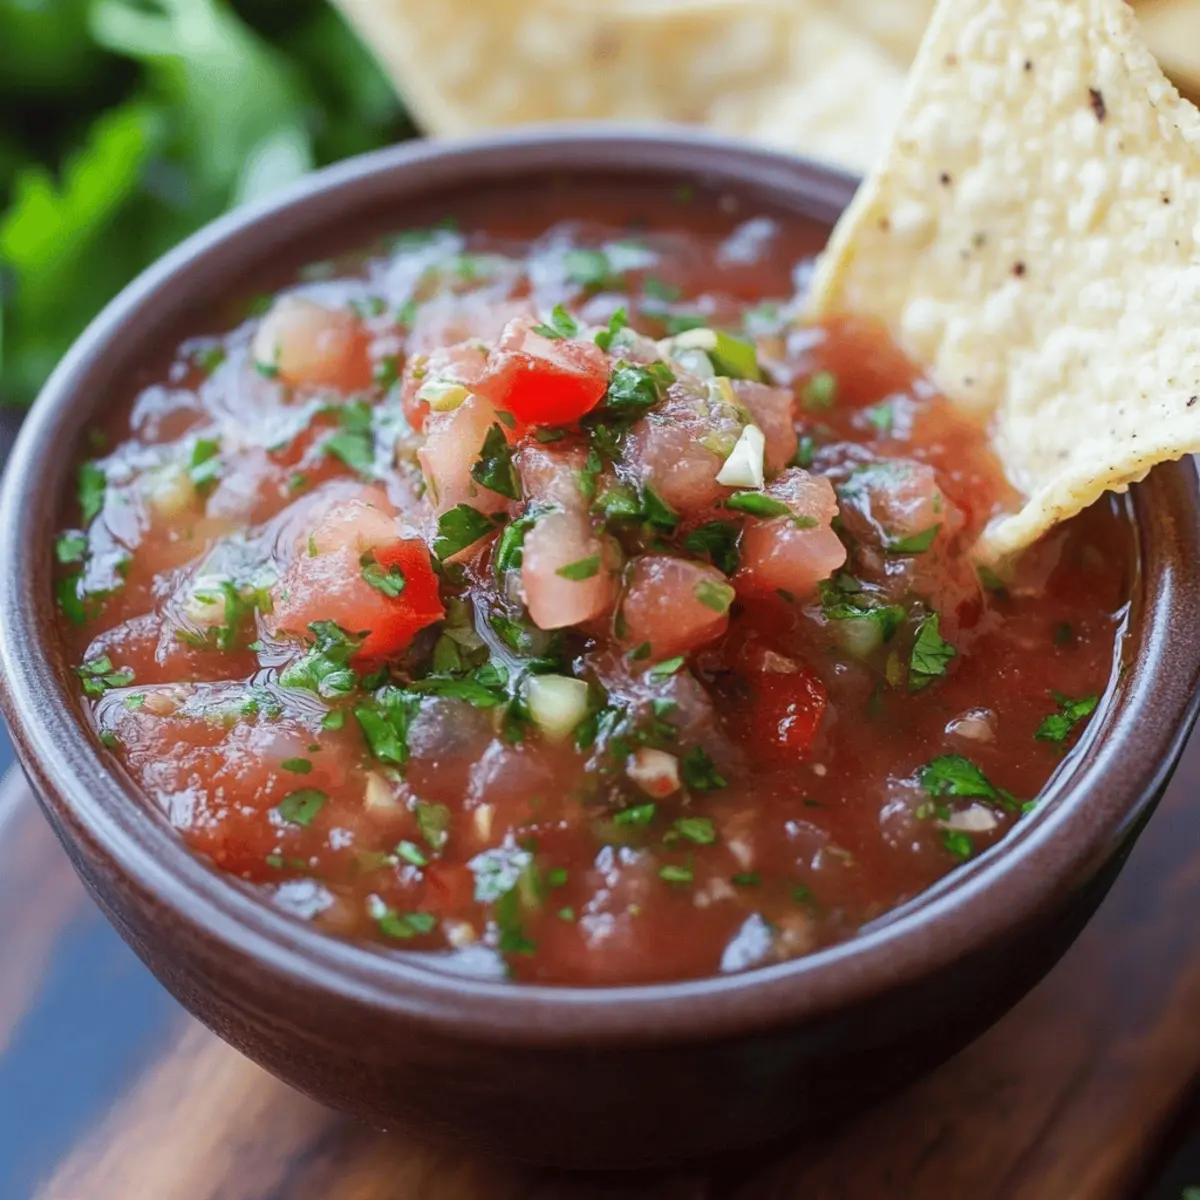
Ultimate Homemade Salsa Recipe FAQs
What type of tomatoes should I use for salsa?
Absolutely! I recommend using Roma tomatoes as they provide a great balance of sweetness and acidity. If Romas are unavailable, feel free to use any ripe tomatoes, but keep in mind that the texture may be slightly different.
How long can I store homemade salsa in the refrigerator?
Your homemade salsa can be stored in an airtight container in the refrigerator for up to 5 days. After that, it may start to lose its freshness and flavor. Always give it a quick taste before serving again!
Can I freeze salsa for later use?
Very! You can freeze your salsa in a sealed freezer bag or container for up to 3 months. Make sure to leave some space in the container for expansion. When you're ready to enjoy it, simply thaw it in the refrigerator overnight before serving.
What should I do if my salsa turns out too spicy?
If you find your salsa is spicier than you'd like, don’t fret! You can add diced tomatoes or layers of sweetness with diced mango or a touch of sugar. These additions help balance out the heat. Additionally, serving it with sour cream or guacamole can also tone down the spice!
Can my pet eat homemade salsa?
I would advise against it. While some ingredients like tomatoes and cilantro are safe in small amounts, others like onions and garlic can be harmful to pets. Always check with your vet before sharing human food with your furry friends.
How can I make my salsa more unique?
For a creative twist, try incorporating fruits like pineapple or mango for a sweet contrast! Black beans also add heartiness, making your salsa a filling snack. Enjoy experimenting with different flavors to find the perfect combination that suits your palate!
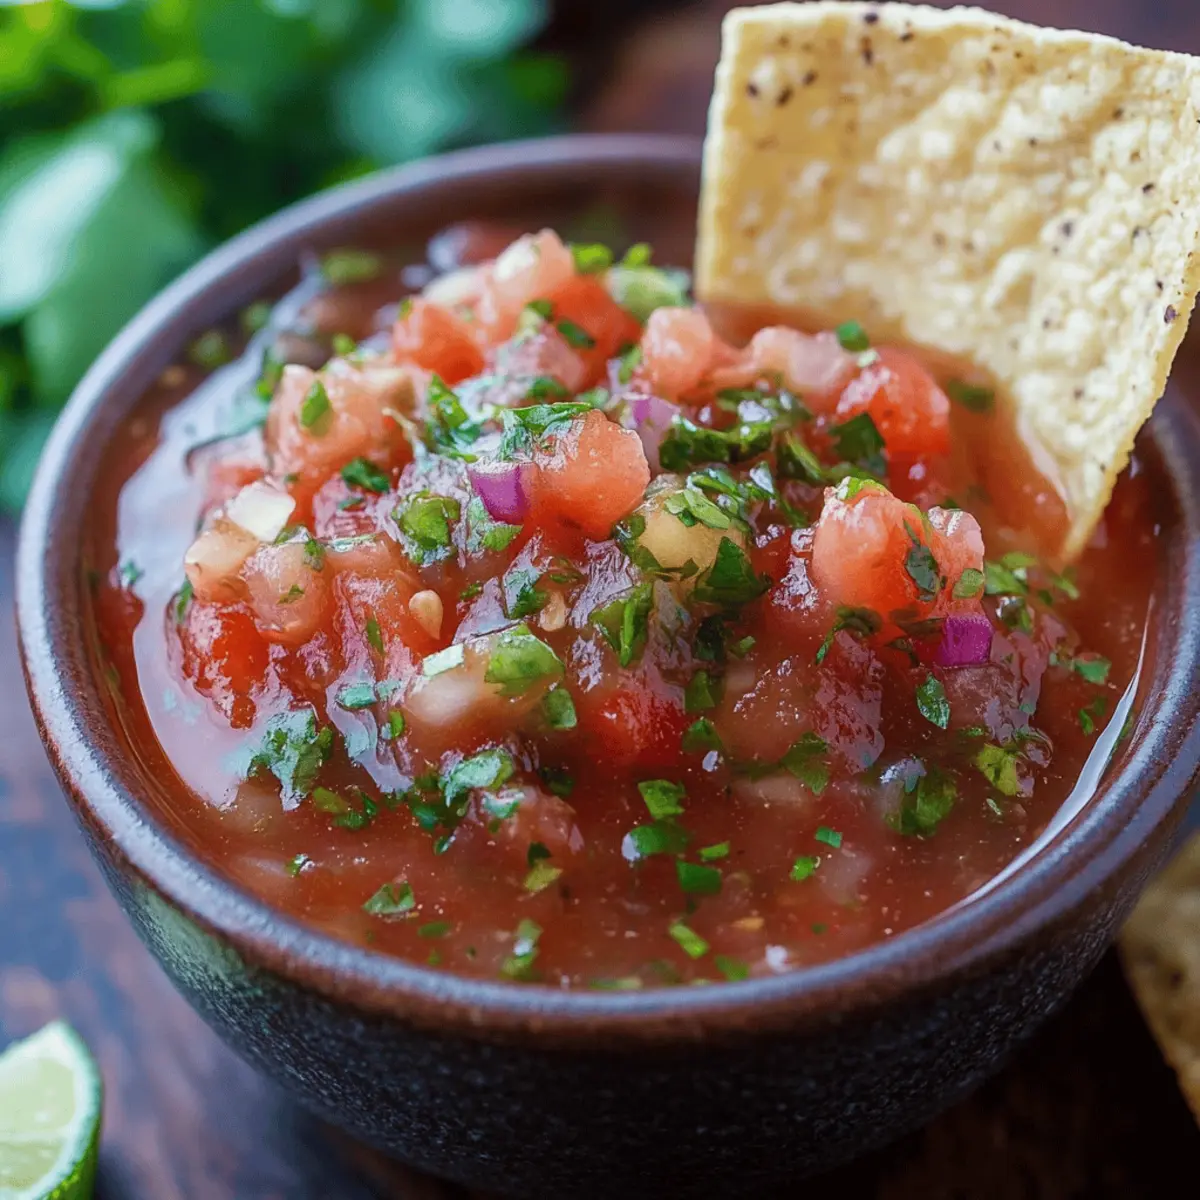
Fresh and Flavorful Salsa That's Way Better Than Takeout
Ingredients
Equipment
Method
- Preheat your oven to 400°F (200°C) and line a baking sheet with parchment paper.
- Wash your Roma tomatoes thoroughly and slice them in half, arranging them cut-side up on the baking sheet.
- Chop the white onions and jalapeños into small pieces and scatter them around the tomatoes.
- Drizzle olive oil over the vegetables on the baking sheet.
- Roast the vegetables for about 20-25 minutes until the tomatoes soften and show a charred edge.
- Carefully remove the baking sheet from the oven and let it cool for a few minutes.
- Transfer the roasted tomatoes, onions, and jalapeños into a blender, including the juices.
- Add minced garlic, fresh cilantro, ground cumin, chili powder, and lime juice to the blender.
- Blend all the ingredients together until you reach your desired consistency.
- Taste your salsa and season with salt and pepper according to your preference.
- Transfer the salsa into a covered container and chill in the refrigerator for at least 30 minutes.
- Once chilled, serve with tortilla chips or tacos.



Leave a Reply