As I crunched into a chip layered with gooey cheese and savory goodness, I realized loaded nachos are more than just a snack—they’re a celebration of flavors! This easy Loaded Nachos recipe is perfect for anyone craving a customizable comfort food that suits any taste. Whether you’re hosting a game day party or simply treating your family to a fun dinner, these nachos promise to be a crowd-pleaser and are incredibly versatile, allowing you to mix and match toppings to your heart's desire. You can easily cater to dietary preferences, from vegetarian delights to spicy twists. So, are you ready to dive into a plateful of delightful layers? Let’s make nacho night unforgettable!
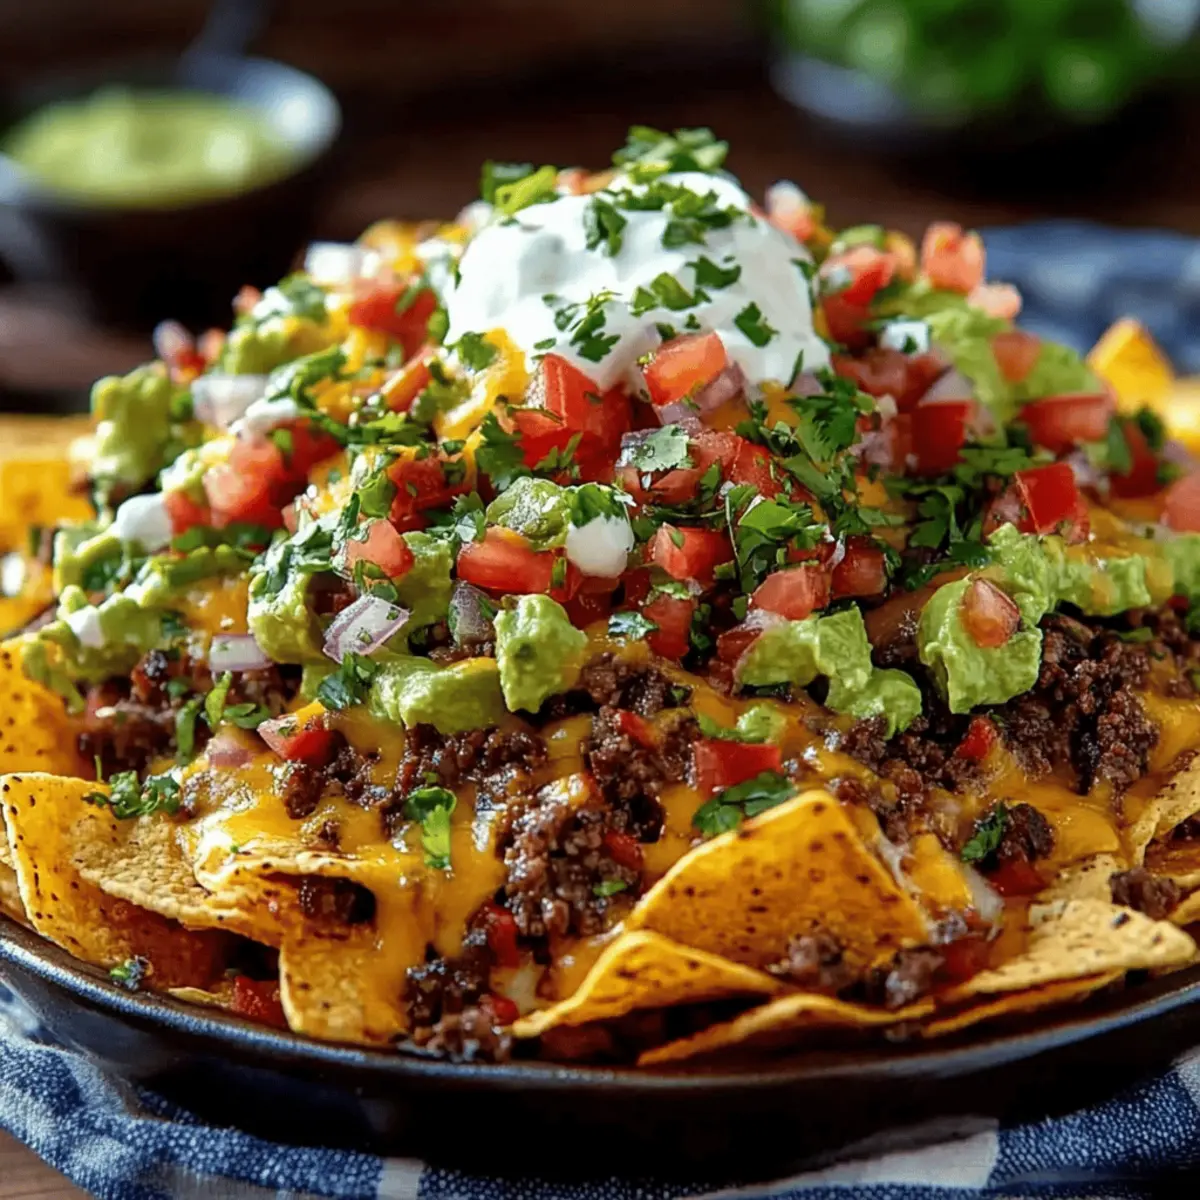
Why Are Loaded Nachos So Irresistible?
Customization at its Finest: This recipe is a blank canvas, letting you tailor your nachos to fit any craving—be it vegetarian or extra spicy.
Quick and Easy: With simple preparation steps, you can whip up this dish in no time, perfect for unexpected guests or a casual night in.
Crowd-Pleasing Delight: Whether at a family gathering or game day, everyone loves loaded nachos—they’re the ultimate comfort food that brings people together.
Textural Triumph: Enjoy the crunch of tortilla chips paired with melty cheese and savory toppings—all in one delicious bite!
Healthier Choices: Swap out ingredients for lighter options, like using Greek yogurt instead of sour cream or loading up on fresh veggies for a nutritious boost.
So what are you waiting for? Dive into these loaded nachos that are destined to dazzle your taste buds! And for more fun variations, check out our Game Day Nachos recipe for perfect party inspiration!
Loaded Nachos Ingredients
• Here’s everything you’ll need for the ultimate loaded nachos experience!
For the Chips
- Tortilla Chips – Use thick, restaurant-style chips for optimal crunch.
For the Meat
- Ground Beef – Provides savory protein; can be swapped with ground turkey for a leaner option.
- Onion – Adds sweetness and depth; substitute with shallots for a milder flavor.
- Garlic – Enhances the overall taste; replace with garlic powder if fresh is unavailable.
- Taco Seasoning – Essential for flavoring the meat; homemade mixes can be used for health-conscious cooks.
- Water – Activates the seasoning; broth can impart additional flavor.
For the Beans
- Black Beans – Adds nutritional value and fiber; substitute with pinto or refried beans.
- Kidney Beans (optional) – Can be omitted for a simpler taste.
For the Veggies
- Corn – Adds sweetness and crunchy texture; frozen corn is a good alternative.
- Pickled Jalapeños – Optional for heat; fresh jalapeños can be used for a crunchier texture.
- Cilantro – Brightens the dish; omit if not a fan.
- Green Onions – Adds a mild onion flavor; chives can also be used.
For the Cheesy Goodness
- Cheddar Cheese – Creates a tangy, cheesy layer; substitute with Colby Jack or Havarti.
- Monterey Jack Cheese – Provides a creamy melt; a Mexican cheese blend can be used for varied flavors.
For the Creamy Toppings
- Sour Cream – Adds a cooling element; Greek yogurt makes a healthier swap.
- Guacamole – Freshness for the dish; ready-made options save time.
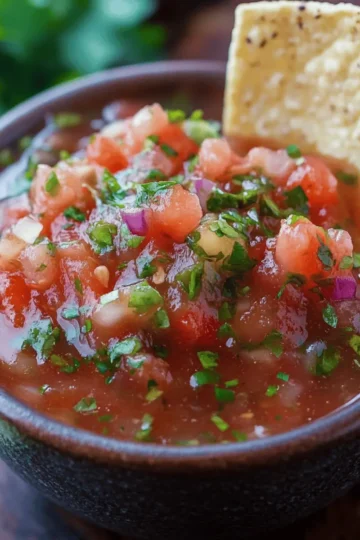
- Salsa – Adds flavor and acidity; fresh or jarred varieties work well.
Optional Add-ins
- Tomatoes – Fresh diced tomatoes add a juicy touch.
- Olives – Introduce a briny flavor that complements the cheese.
- Queso Fresco – Adds a unique creamy texture and flavor.
Feel free to get creative with these ingredients as you dive into making your loaded nachos!
Step‑by‑Step Instructions for Loaded Nachos
Step 1: Cook the Ground Beef
In a large skillet over medium heat, add your ground beef and cook for about 5-7 minutes until browned and no longer pink. Use a spatula to break it apart as it cooks, allowing for even browning. Once cooked, drain any excess grease, leaving just enough for flavor.
Step 2: Add Aromatics
Next, add finely chopped onion and minced garlic to the skillet with the beef. Sauté them together for approximately 3-4 minutes until the onion becomes translucent and fragrant. This flavorful base will elevate your loaded nachos, combining the savory meat with aromatic goodness.
Step 3: Season the Meat
Sprinkle in your taco seasoning and pour in ¼ cup of water. Stir the mixture well and let it simmer for about 5 minutes, or until the sauce thickens slightly. The seasoning will envelop the beef, enhancing the flavors that make your loaded nachos truly irresistible.
Step 4: Combine Beans and Corn
Once the meat is seasoned, stir in black beans, kidney beans (if using), and corn. Heat everything through for an additional 3-4 minutes, ensuring the mixture is warm and fully combined. This step not only adds texture but also infuses the dish with hearty components.
Step 5: Prepare for Baking
Preheat your oven to 350°F (175°C) to get it ready for baking your loaded nachos. While the oven is heating, line a baking tray with parchment paper for easy cleanup. This will ensure your nachos come out crispy and delicious without sticking to the tray.
Step 6: Assemble Nachos
Spread an even layer of tortilla chips across the prepared baking tray. It's essential to cover the surface completely to ensure every chip gets topped with the savory beef mixture. Pour the beef, bean, and corn mixture over the chips, distributing it evenly for maximum flavor.
Step 7: Add Cheese
Generously sprinkle both cheddar and Monterey Jack cheeses on top of your assembled nachos. The cheese will melt beautifully, creating that iconic gooey layer. Don’t be shy; this is where the indulgent magic happens, so ensure that every inch is covered.
Step 8: Melt the Cheese
Place the tray in your preheated oven and bake for about 5-10 minutes, watching closely until the cheese is melted and bubbly. Alternatively, you can broil the nachos for 2-3 minutes for an extra crispy finish on top. Just be careful not to burn the cheese!
Step 9: Add Final Toppings
Once out of the oven, let your loaded nachos cool slightly before adding dollops of sour cream, guacamole, and salsa. Finish with pickled jalapeños, chopped cilantro, and green onions for an explosion of freshness. These toppings elevate the dish while adding contrast to the hot cheese.
Step 10: Serve Immediately
Serve your loaded nachos hot and fresh from the oven, allowing everyone to dig in. This delightful mountain of cheese and savory layers is best enjoyed immediately for maximum crunch and flavor. Gather around and enjoy this comforting dish with family and friends!

Loaded Nachos Variations & Substitutions
Feel free to let your creativity shine as you adapt this loaded nachos recipe to meet your cravings!
-
Vegetarian: Swap the ground beef with extra beans and sautéed bell peppers for a delicious plant-based option. Add spinach for a fresh pop!
-
Spicy Kick: Toss in diced jalapeños or add a drizzle of hot sauce over the top for an extra layer of heat. If you love spice, try chipotle peppers in adobo sauce for a smoky flavor.
-
Protein Boost: Use shredded chicken, ground turkey, or even lentils as a hearty replacement for ground beef, making sure to season them well for flavor.
-
Cheesy Delight: Amplify the cheese factor by incorporating a blend of your favorite cheeses, such as pepper jack for a spicy twist, or adding a creamy queso for an indulgent finish.
-
Crunchy Texture: Add a layer of crushed tortilla chips on top before baking for an extra crunch. Toss in some fresh raw veggies like diced radishes for a delightful contrast.
-
Baked Bean Layer: Replace black beans with refried beans for a creamier texture that complements the crispy chips beautifully. This variation adds a richness that enhances each bite.
-
Sweet and Savory: For a unique twist, add a sprinkle of cinnamon to your ground beef or pile on some caramelized onions. The sweetness will balance the savory flavors beautifully.
-
Loaded Breakfast Nachos: Top with scrambled eggs, avocado, and a sprinkle of cheese for a brunch sensation that revitalizes the classic nacho experience. Serve with a side of salsa for a complete meal!
With these variations, there’s no limit to the delicious possibilities your loaded nachos can offer! Now, if you’re looking for more creative ideas, don’t miss our Breakfast Nachos recipe for a fun morning treat!
Expert Tips for Loaded Nachos
-
Layer Wisely: Ensure you layer chips evenly on the baking sheet so that every chip gets topped. Failing to do so can leave some chips plain and uninspired.
-
Watch the Cheese: Avoid overcooking the cheese; keep a close eye while broiling. You want it melted and bubbly, not burnt.
-
Seasonal Freshness: Customize toppings based on what's in season for the best taste, freshness, and nutritional value in your loaded nachos.
-
Vegetarian Option: For a meatless twist, simply omit the ground beef and increase the amount of beans and veggies for a fulfilling meal that everyone will enjoy.
-
Presentation Matters: Serve your nachos immediately after topping to maintain their crispy texture and eye-catching appeal, ensuring a tempting dish that no one can resist!
What to Serve with Loaded Nachos
Elevate your nacho night with irresistible side dishes and beverages that perfectly complement your crispy, cheesy creation!
- Creamy Guacamole: This rich avocado dip adds freshness and creaminess, cutting through the savory flavors of the loaded nachos.
- Spicy Salsa: Add a zesty kick with your favorite fresh or jarred salsa, enhancing the overall taste experience with bright acidity.
- Zesty Slaw: A crunchy slaw made with cabbage and lime offers a refreshing contrast, balancing the richness of the nachos with every bite.
- Mexican Street Corn: Grilled corn topped with mayo, cheese, and chili powder delivers a smoky, sweet side that pairs beautifully with your nachos.
- Chilled Beer: A light and crisp lager or IPA is the perfect thirst quencher that complements the bold flavors of loaded nachos.
- Margaritas: A classic lime margarita brings a festive touch, enhancing the gathering atmosphere while offering a tangy pairing for each cheesy bite.
- Refried Beans: Smooth and savory, these beans provide a hearty counterbalance that works as a delightful dip or side dish.
- Baked Jalapeño Poppers: For those who love spice, these cheesy bites bring an additional layer of flavor that enhances your nacho experience.
Make Ahead Options
These Loaded Nachos are fantastic for meal prep, allowing you to enjoy delicious flavors even on your busiest days! You can prepare the ground beef mixture (including the beans and corn) up to 3 days in advance—just store it in an airtight container in the refrigerator. To maintain freshness and prevent sogginess, keep the tortilla chips separate until you're ready to assemble. When ready to serve, simply layer the cooked beef mixture over the chips, add your cheeses, and bake as instructed. For best results, bake immediately after assembling, ensuring that your nachos are crispy and the cheese melts to perfection, guaranteeing that every bite is just as delightful!
How to Store and Freeze Loaded Nachos
Fridge: Store leftovers covered in an airtight container for up to 2 days. Ensure the nachos are cooled to room temperature before sealing to maintain freshness.
Freezer: For longer storage, freeze assembled nachos without fresh toppings for up to 2 months. Layer the chips and toppings in a freezer-safe container, with parchment paper between layers to prevent sticking.
Reheating: To reheat, bake in the oven at 350°F (175°C) until heated through, about 10-15 minutes. This will help restore the crunchiness of the chips and melty cheese, making your loaded nachos delightfully enjoyable once again.
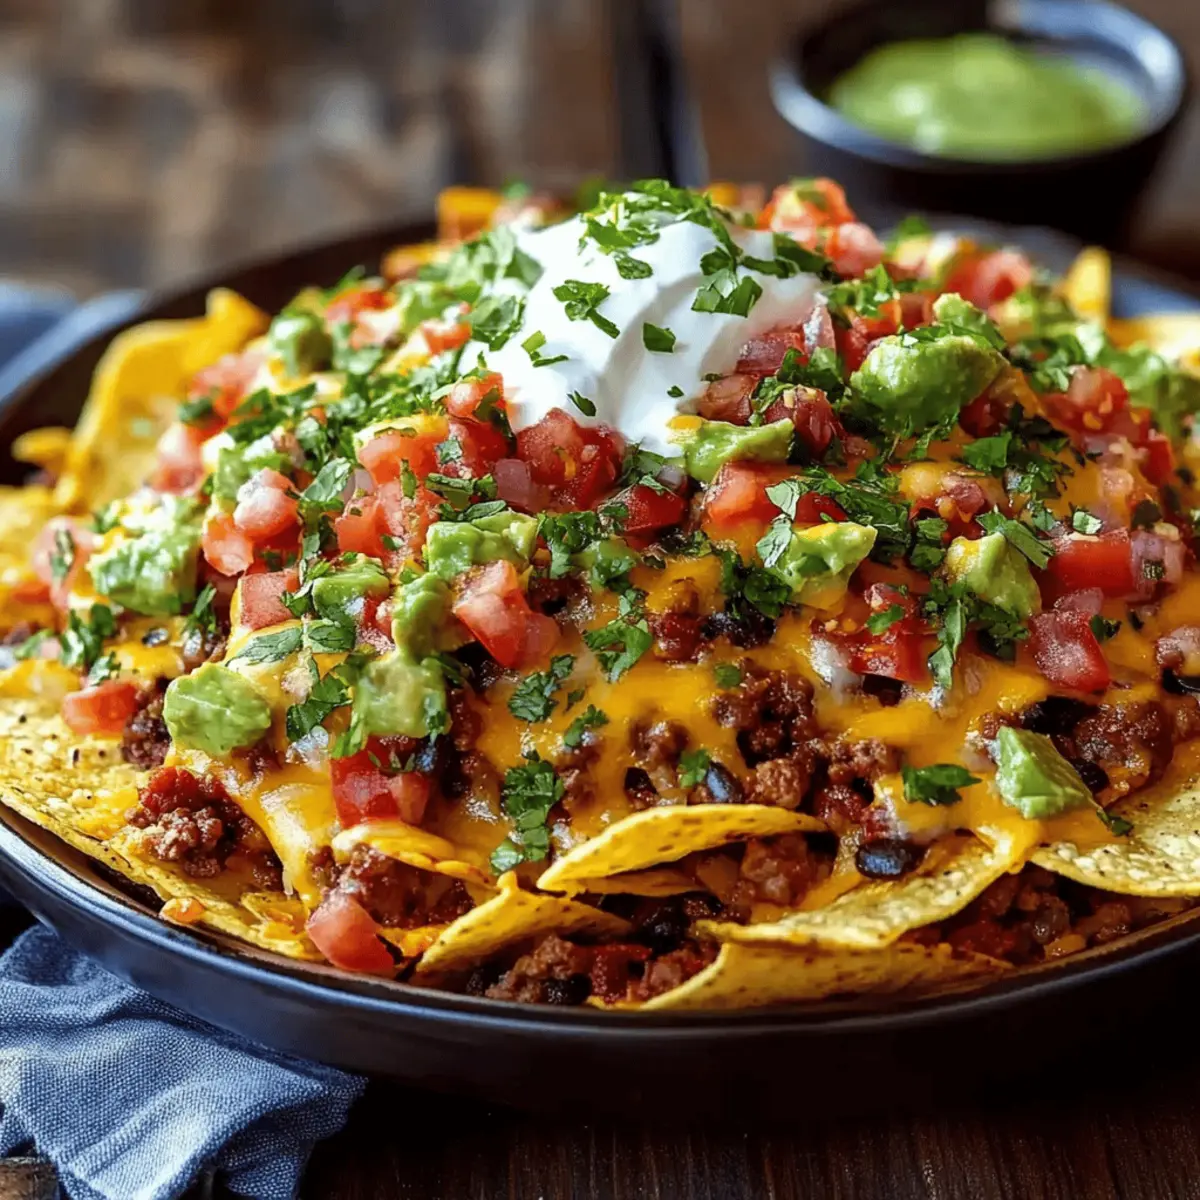
Loaded Nachos Recipe FAQs
How do I pick the best tortilla chips for loaded nachos?
For the best results, choose thick, restaurant-style tortilla chips. These chips are sturdier and hold up well against toppings without getting soggy. Look for chips that have a nice golden-brown color, indicating they are crispy and fresh. Avoid chips with dark spots or an overly salty taste, as they might overwhelm your nacho flavors.
What’s the best way to store leftover loaded nachos?
To maintain freshness, store your loaded nachos in an airtight container in the fridge for up to 2 days. Cool the nachos to room temperature before sealing, as this prevents condensation from making them soggy. When you're ready to enjoy them again, reheat in the oven at 350°F (175°C) for about 10-15 minutes to regain that crispy texture.
Can I freeze loaded nachos?
Absolutely! To freeze, layer the assembled nachos without fresh toppings in a freezer-safe container. I recommend using parchment paper between layers to prevent sticking, allowing you to pull out single servings easily. These can be frozen for up to 2 months. When you're ready to savor them, bake straight from frozen at 350°F (175°C) until heated through, approximately 15-20 minutes.
What if my nachos turn out soggy?
If you find your nachos soggy, it’s likely due to too many toppings or not allowing chips to dry before baking. To avoid this, layer your chips thinly on the baking sheet, and distribute toppings evenly, avoiding heavy gooey add-ons. If they’re already soggy, consider putting them back in the oven at a higher temperature for a few minutes, allowing them to crisp up again.
Are loaded nachos a suitable dish for vegetarians?
Yes! Loaded nachos can easily be tailored for a vegetarian diet. Simply omit the ground beef and increase the vegetables and beans. Bell peppers, mushrooms, and a variety of beans can add flavor and texture. Swap sour cream for Greek yogurt for an extra health boost without sacrificing creaminess.
Can I customize the toppings for my loaded nachos?
Very! This recipe is all about personalization. Whether you want to go spicy with fresh jalapeños or make it a sweet twist by adding barbecue chicken, feel free to mix and match your favorite toppings. Think of it as a nacho buffet! Add seasonal veggies or unique cheeses like feta or pepper jack for an exciting flavor journey.

Loaded Nachos: The Best Indulgent Comfort Food Treat
Ingredients
Equipment
Method
- Cook the Ground Beef: In a large skillet over medium heat, add your ground beef and cook for about 5-7 minutes until browned.
- Add Aromatics: Add finely chopped onion and minced garlic to the skillet, sauté for 3-4 minutes until the onion is translucent.
- Season the Meat: Sprinkle in your taco seasoning and add water. Stir and let simmer for 5 minutes until the sauce thickens.
- Combine Beans and Corn: Stir in black beans, kidney beans, and corn. Heat through for an additional 3-4 minutes.
- Prepare for Baking: Preheat your oven to 350°F (175°C) and line a baking tray with parchment paper.
- Assemble Nachos: Spread an even layer of tortilla chips on the baking tray and pour the beef mixture over them.
- Add Cheese: Generously sprinkle cheddar and Monterey Jack cheeses on top of the nachos.
- Melt the Cheese: Bake in the oven for 5-10 minutes until the cheese is melted and bubbly.
- Add Final Toppings: Let cool slightly and add dollops of sour cream, guacamole, and salsa, finishing with jalapeños and onions.
- Serve Immediately: Serve hot and enjoy with family and friends.




Leave a Reply