
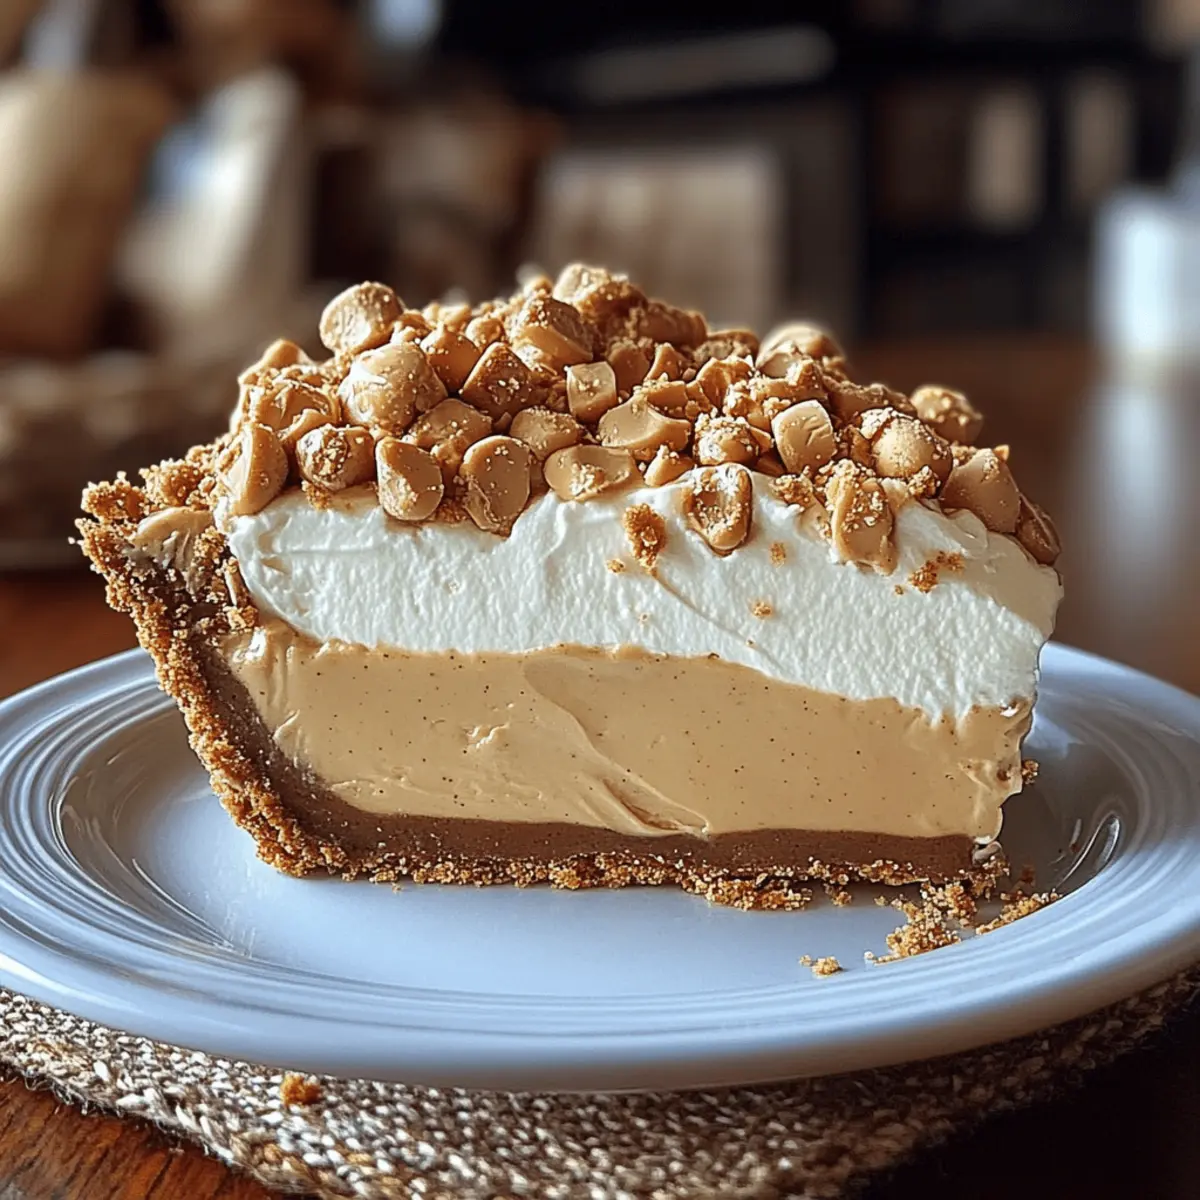
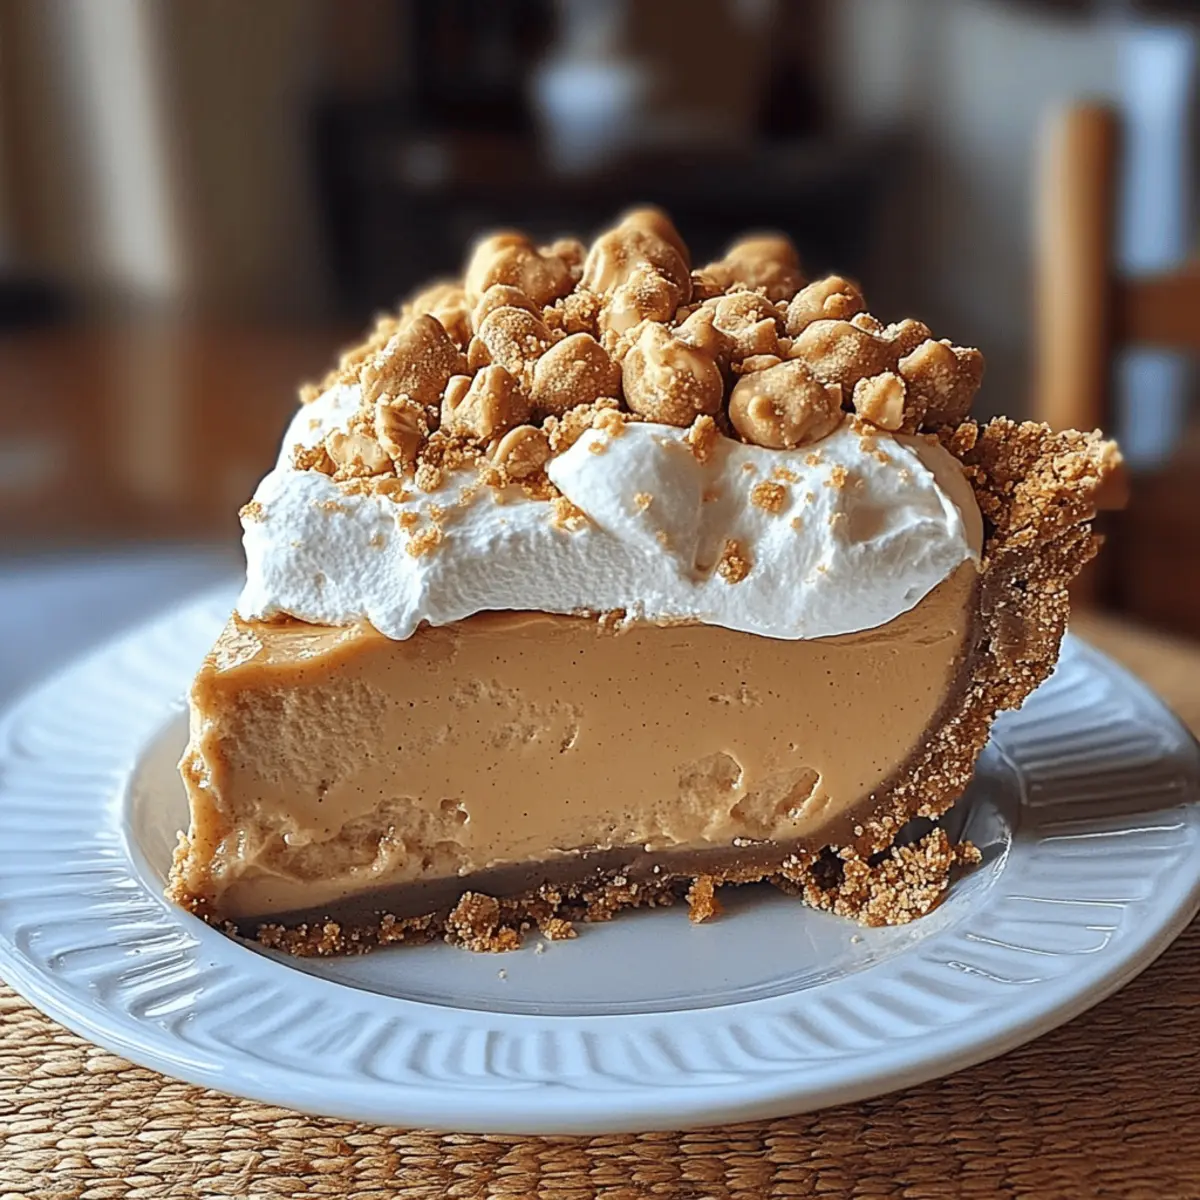
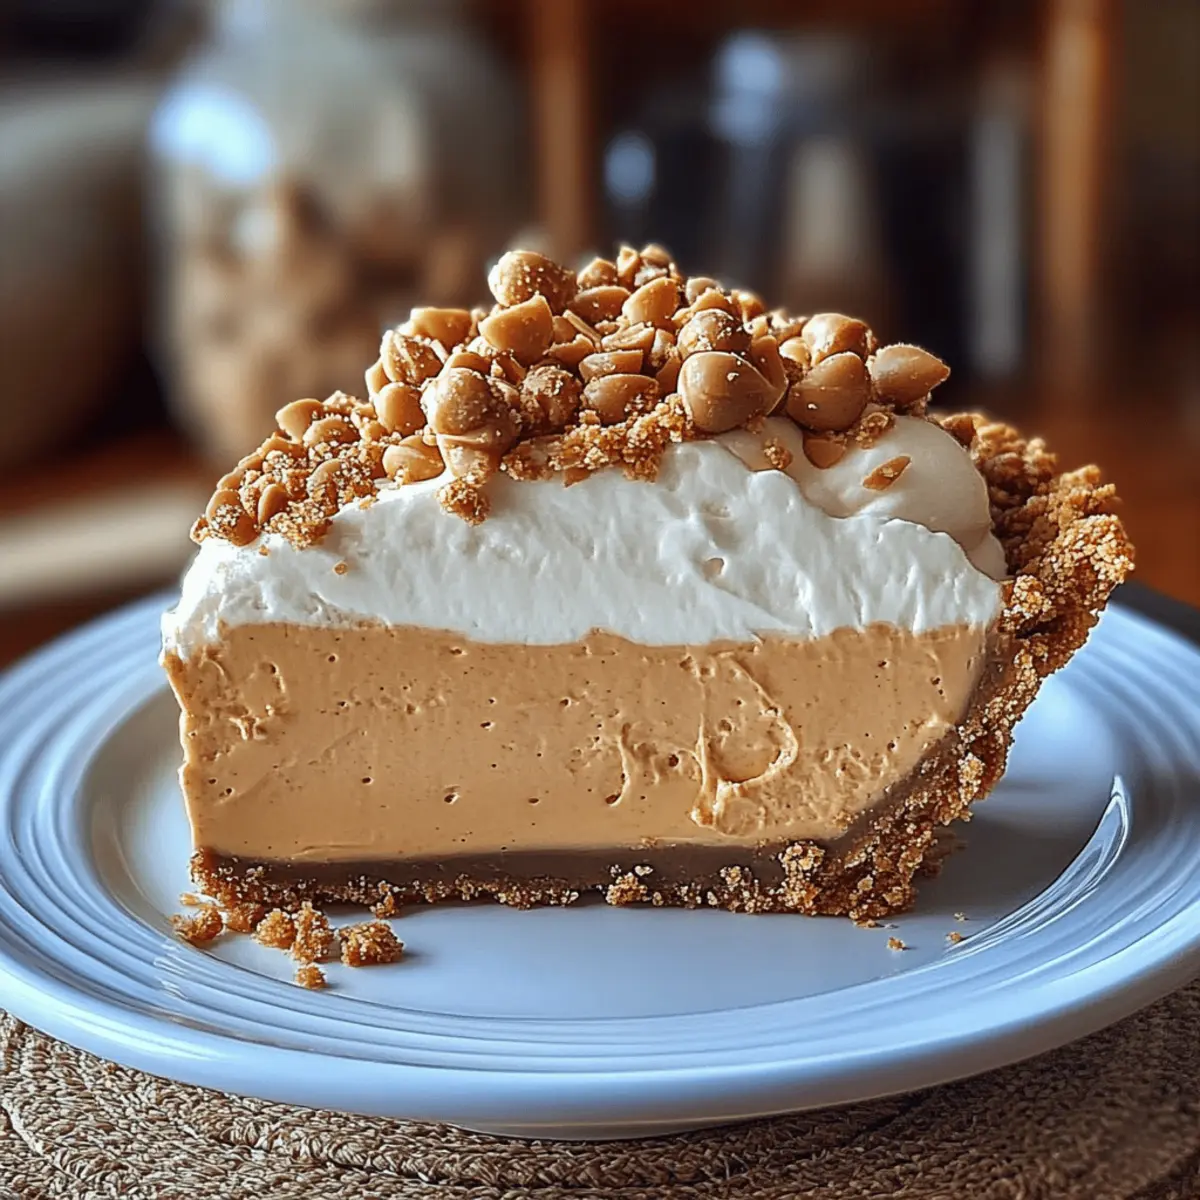
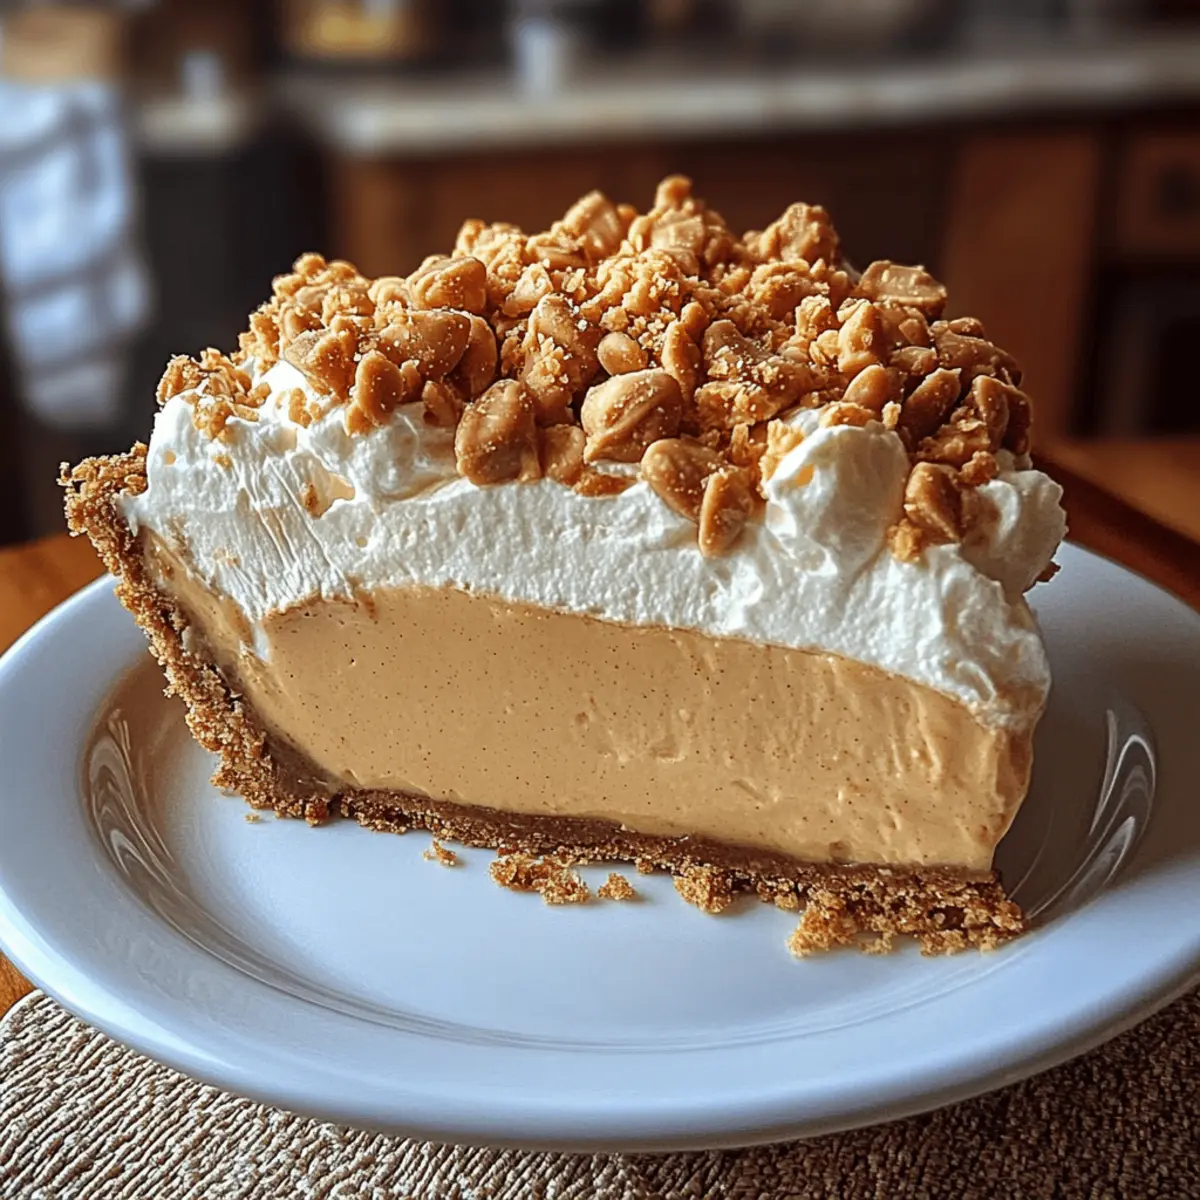
Sweet and salty delights are often hidden in plain sight, like this Amish Peanut Butter Cream Pie. Nestled within a flaky graham cracker crust lies a smooth peanut butter filling that beckons for a taste. It's a quintessential comfort food, perfect for gatherings or a cozy night in, and the best part? It’s so simple to whip up! With its creamy texture and delightful chocolate ganache topping, this dessert isn't just another recipe; it’s a memorable addition to your cooking repertoire that will leave friends and family asking for seconds. Plus, you can easily customize it with different crusts or toppings to suit any palate. Ready to create a slice of Americana that celebrates homemade goodness? Let's dive into this delightful journey of flavors!
Why is this pie a must-try?
Indulgent taste: The Amish Peanut Butter Cream Pie delivers a heavenly blend of creamy peanut butter filling and rich chocolate ganache, creating a dessert experience that’s simply unforgettable.
Quick preparation: With straightforward steps and common ingredients, you can whip up this pie in no time—perfect for busy weeknights or last-minute gatherings.
Versatile options: Easily customize the crust or toppings to suit your palate, from a chocolatey Oreo crust to a nutty topping—there’s a variation for everyone!
Crowd-pleaser: This pie is sure to wow your family and friends, making it an ideal dessert for holidays, parties, or just a cozy night in together—everyone will be coming back for seconds!
Homemade charm: Embrace the comforting allure of homemade goodness that reflects cherished Amish culinary traditions, transforming simple ingredients into a beloved treat. Want some more ideas? Check out our variation suggestions for extra inspiration!
Peanut Butter Cream Pie Ingredients
For the Crust
• Graham Cracker Crumbs – These form the base for a delightful crunch; swap with crushed Oreos for a chocolatey twist.
• Granulated Sugar – Sweetens the crust; feel free to reduce for a less sugary option.
• Unsalted Butter – Adds richness to your crust; can be replaced with coconut oil for a dairy-free alternative.
For the Filling
• Cream Cheese – Gives the filling its creamy texture; Neufchâtel works well for a lighter version.
• Creamy Peanut Butter – This is the star of the filling; try crunchy peanut butter for extra texture.
• Powdered Sugar – Sweetens the filling and achieves smoothness; you can use whipped cream as a lighter substitute.
• Heavy Cream – Provides richness and stability for both the filling and ganache; coconut cream is a great dairy-free swap.
• Vanilla Extract – Enhances the overall flavor profile; opt for almond extract if you want something different.
For the Ganache Topping
• Semi-sweet Chocolate – The main ingredient for a luscious ganache; dark chocolate can be used for a richer taste.
• Chopped Peanuts – Optional, adding crunch and flavor; feel free to substitute with your favorite nuts or skip if you prefer a smoother finish.
• Mini Chocolate Chips – Also optional, these provide visual appeal and an extra hint of chocolate flavor.
This Peanut Butter Cream Pie is your ticket to a delicious homemade treat everyone will adore!
Step‑by‑Step Instructions for Irresistible Amish Peanut Butter Cream Pie
Step 1: Preheat the Oven
Begin by preheating your oven to 350°F (175°C). This crucial step ensures that your crust bakes evenly, turning golden and aromatic. While the oven heats, gather your ingredients and equipment, including a mixing bowl and a 9-inch pie plate, for a smooth workflow.
Step 2: Prepare the Crust Mixture
In a mixing bowl, combine graham cracker crumbs and granulated sugar, then pour in the melted unsalted butter. Use a fork or your hands to mix until the crumbs are evenly moistened and clump together slightly. The buttery aroma will fill your kitchen, signaling that your crust is almost ready!
Step 3: Form the Pie Crust
Carefully press the crumb mixture into the bottom and up the sides of your pie plate. Aim for an even layer, ensuring it’s nicely compacted. Bake the crust in the preheated oven for about 8-10 minutes, or until it's lightly golden and fragrant. Let it cool completely as you prepare the filling.
Step 4: Mix the Peanut Butter Filling
In a large mixing bowl, beat the cream cheese with an electric mixer until smooth and fluffy, approximately 2-3 minutes. Gradually add in the creamy peanut butter, mixing until fully combined. The rich, nutty scent should start to emerge, letting you know the filling is taking shape.
Step 5: Sweeten the Mixture
Slowly sift in the powdered sugar while mixing, allowing it to blend in well. Next, pour in the heavy cream and vanilla extract, continuing to mix until the filling is light and fluffy, which should take about 3-4 minutes. The final texture should be velvety and luscious.
Step 6: Spread the Filling
Once the crust has cooled completely, carefully spread the peanut butter filling over it, filling it to the edges for a beautiful presentation. Smooth the top with a spatula for an even finish, and then cover your pie with plastic wrap before refrigerating it for at least 2 hours, or overnight if you can wait!
Step 7: Prepare the Chocolate Ganache
To make the ganache, heat the heavy cream in a small saucepan over medium heat until it just begins to simmer—this should take about 3-4 minutes. Remove from heat, then pour the hot cream over the chopped semi-sweet chocolate in a mixing bowl. Allow it to sit for a moment before whisking until smooth and glossy.
Step 8: Assemble the Pie
Once the pie filling has set nicely, pour the chocolate ganache over the top, spreading it evenly. For an extra touch, sprinkle chopped peanuts and mini chocolate chips over the ganache if you wish. Their textures will contrast beautifully against the creamy layers beneath.
Step 9: Chill to Set
Place the assembled pie back in the refrigerator for an additional 30 minutes, allowing the ganache to set perfectly and achieve that wonderful sheen. This chilling time enhances the flavor and helps create a delightful texture for your Peanut Butter Cream Pie.
Step 10: Serve and Enjoy
Before slicing and serving, let the pie sit at room temperature for about 15-20 minutes. This allows the filling to soften slightly, making it easier to cut clean slices. Now, gather friends and family, and prepare to share this irresistible Amish Peanut Butter Cream Pie that's sure to impress!
Make Ahead Options
Making the Amish Peanut Butter Cream Pie ahead of time is a game-changer for busy weeknights! You can prepare the graham cracker crust and peanut butter filling up to 24 hours in advance. Simply bake the crust, let it cool completely, and then fill it with the peanut butter mixture. Cover tightly with plastic wrap and refrigerate. When you're ready to serve, whip up the chocolate ganache—this can be made just before pouring it over the chilled filling—allowing it to set for 30 minutes in the fridge. This method not only saves you time but also ensures that the pie remains just as delicious!
How to Store and Freeze Peanut Butter Cream Pie
Fridge: Keep your peanut butter cream pie covered in the refrigerator for up to 3-4 days. This helps maintain its creamy texture and rich flavor.
Freezer: For longer storage, wrap individual slices in plastic wrap and place them in an airtight container. The pie can be frozen for up to 2 months, but the texture may change slightly upon thawing.
Reheating: If refrigerated, let the slices sit at room temperature for about 15-20 minutes before serving. Avoid reheating in the microwave, as it may affect the creaminess of the filling.
Serving Tip: A cold or slightly chilled slice is ideal; it enhances the layers of flavor in your delicious peanut butter cream pie!
Expert Tips for Peanut Butter Cream Pie
• Room Temperature Cream Cheese: Let the cream cheese warm up before mixing to prevent lumps and achieve a creamy filling.
• Chill for Texture: Don’t skip the chilling time! Allow the pie to set completely in the refrigerator for optimal taste and texture, making every bite divine.
• Gentle Ganache Heating: Heat the heavy cream gently until it simmers, but don’t let it boil; this ensures a silky ganache that smoothly melts over the filling.
• Storage Wisdom: Store leftovers in the refrigerator and consume within 3-4 days. Keeping it covered protects its freshness and flavor!
• Customization is Key: Feel free to get creative with your peanut butter cream pie by exploring various crust options or garnishing with your favorite toppings.
Peanut Butter Cream Pie Variations
Feel free to get creative and make this delightful pie your own with these exciting twists!
-
Oreo Crust: Swap graham cracker crumbs for crushed Oreos to infuse a chocolatey richness that perfectly complements the peanut butter.
-
Nut Butter Twist: Try using almond or cashew butter instead of peanut butter for a unique spin that offers a different flavor profile.
-
Vegan Version: Substitute cream cheese with a plant-based alternative and use coconut cream in place of heavy cream for a completely dairy-free delight.
-
Added Crunch: Mix in chopped nuts, like pecans or almonds, into the filling for an extra layer of texture and a delightful crunch.
-
Layered Delight: Add a layer of caramel sauce under the filling for a gooey surprise that makes each bite even more indulgent.
-
Spiced Up Flavor: Incorporate a pinch of cinnamon or a splash of whiskey into your chocolate ganache for a warm, inviting flavor.
-
Fruit Topping: Top the pie with fresh bananas or berries before serving for a refreshing contrast to the rich creaminess.
-
Minty Fresh: Include a drop of peppermint extract in the filling for a refreshing minty twist that adds a festive touch, perfect for gatherings!
What to Serve with Amish Peanut Butter Cream Pie
Imagine the delightful aroma of a homemade dessert that brings friends and family together, creating lasting memories and sweet moments.
- Whipped Cream: A fluffy dollop atop each slice adds a light, airy contrast that invites you to indulge even more.
- Vanilla Ice Cream: The creamy, cold scoop perfectly balances the rich peanut butter flavor, making every bite delightfully harmonious.
- Chocolate Drizzle: Enhance the ganache with a warm chocolate drizzle for an elegant touch that intensifies the dessert's sweetness.
- Fresh Berries: Juicy strawberries or raspberries provide a vibrant, tart contrast, brightening up the rich, decadent pie.
- Coffee: A warm mug of freshly brewed coffee complements the dessert’s sweetness, complementing the nutty peanut butter beautifully.
- Chopped Nuts: Sprinkling extra chopped peanuts or walnuts on top adds texture and a savory crunch that pairs perfectly with the creaminess.
- Toffee Bits: For a crunchy, caramel-like sweetness, sprinkle some toffee bits over the top before serving; they add an incredible flavor layer.
- Mint Sprigs: A fresh mint sprig not only beautifies the plate but also provides a refreshing herbal note that elevates the overall experience.
- Chocolate Milkshake: Serve a small chocolate milkshake on the side for a nostalgic twist and a fun pairing that children and adults will adore.
- Caramel Sauce: A drizzle of warm caramel sauce creates a rich topping that ties all the flavors together, adding warmth and comfort to your dessert.
Amish Peanut Butter Cream Pie Recipe FAQs
What should I look for when selecting peanut butter?
Absolutely! Choose a creamy peanut butter that doesn’t have added sugars or hydrogenated oils for the best flavor and texture. If you prefer a crunchier filling, go for crunchy peanut butter. This choice will definitely add delightful texture and contrast to the smooth creamy filling!
How should I store my leftover peanut butter cream pie?
You can keep your peanut butter cream pie covered in the refrigerator where it will stay fresh for up to 3-4 days. Just make sure to cover it tightly with plastic wrap or aluminum foil, as this helps maintain its creamy texture and delicious flavor.
Can I freeze peanut butter cream pie?
Absolutely! To freeze individual slices, wrap them in plastic wrap and place them in an airtight container. The pie can be frozen for up to 2 months, although the texture may change slightly when thawed. To enjoy, simply let the slice thaw in the refrigerator overnight or for a few hours at room temperature.
What if my ganache isn’t smooth?
Don’t worry! If your ganache has any lumps, it may be due to overheating. If that happens, simply stir in a tablespoon of hot cream or carefully reheat it over a double boiler until it’s silky smooth again. It's all about that lovely, glossy finish!
Are there any dietary considerations when making this pie?
Yes! This pie is vegetarian but does contain dairy. For those with dietary restrictions, you can swap the cream cheese and heavy cream with dairy-free versions, and use coconut oil instead of butter. I often make these adjustments for friends with lactose intolerance, and it still tastes amazing!
How long should I chill the pie before serving?
I recommend refrigerating the pie for at least 2 hours, or even better, overnight. This not only allows the flavors to meld beautifully but also ensures that the filling sets properly for that perfect slice. Patience is key for this indulgent treat!
Indulgent Peanut Butter Cream Pie that Melts in Your Mouth
Ingredients
Equipment
Method
- Preheat your oven to 350°F (175°C).
- In a mixing bowl, combine graham cracker crumbs and granulated sugar, then pour in the melted unsalted butter. Mix until moistened.
- Press the crumb mixture into the bottom and sides of your pie plate. Bake for 8-10 minutes until golden, then let cool.
- In a large mixing bowl, beat cream cheese until smooth, then add creamy peanut butter and mix until combined.
- Sift in powdered sugar while mixing, then pour in heavy cream and vanilla; mix until light and fluffy.
- Spread the filling over the cooled crust. Refrigerate for at least 2 hours, preferably overnight.
- Heat heavy cream in a saucepan until simmering, then pour over chopped chocolate. Whisk until smooth.
- Pour the chocolate ganache over the set filling and sprinkle with chopped peanuts and mini chocolate chips, if desired.
- Chill the assembled pie for an additional 30 minutes before serving.
- Let the pie sit at room temperature for 15-20 minutes before cutting and serving.


Leave a Reply