
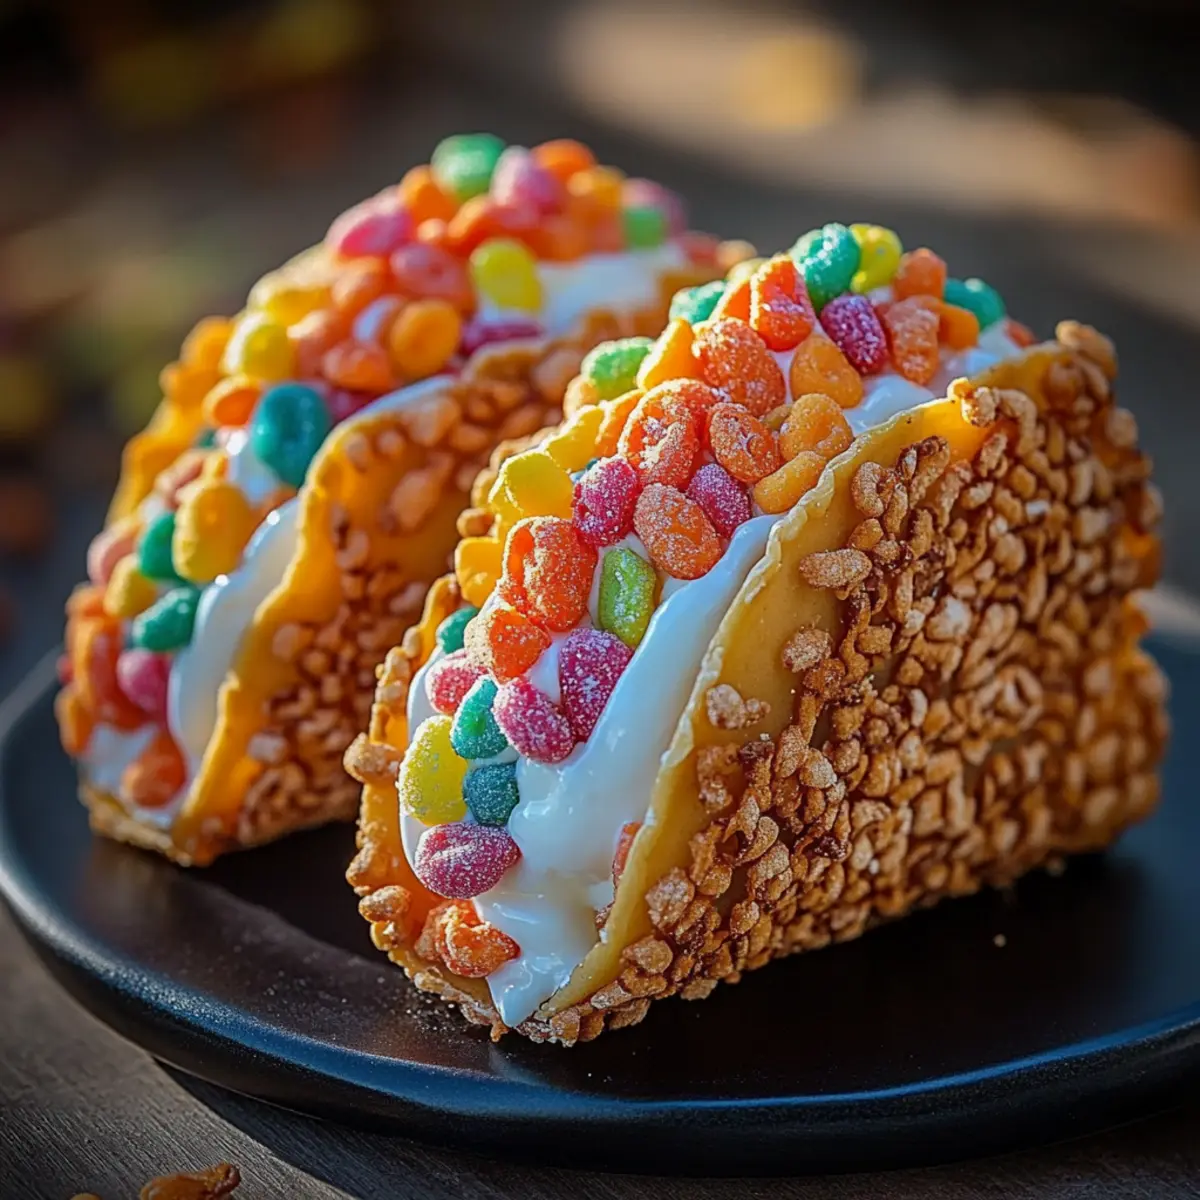
As I rummaged through my pantry, a vibrant box of Fruity Pebbles caught my eye, sparking a whimsical idea: why not turn my favorite childhood cereal into a delicious dessert? Enter the Fruity Pebbles Cheesecake Tacos, a fun and colorful treat that transforms the rich, creamy goodness of cheesecake into a playful experience. These tacos are not only easy to whip up, but they also lend themselves beautifully to creative customization, making them perfect for any gathering or a sweet night in. Plus, who wouldn’t love a dessert that’s both nostalgic and bursting with vibrant color? Ready to embark on this delightful culinary adventure? Let’s dive into the sweet world of Fruity Pebbles Cheesecake Tacos!

Why Make Fruity Pebbles Cheesecake Tacos?
Delightful nostalgia: These tacos evoke fond childhood memories, blending cheesecake with the iconic crunch of Fruity Pebbles.
Bright and cheerful: Their vibrant colors make them a showstopper for any party or gathering, instantly uplifting the mood.
Super easy: With minimal steps, even novice cooks can master this fun dessert, guaranteeing smiles all around.
Versatile options: Feel free to customize with different cereals or toppings, tailoring them to your guests' tastes. For more inspired ideas, check out our variations!
Crowd-pleasing treat: Whether for a birthday, holiday, or casual get-together, these tacos are sure to impress and delight every palate.
Fruity Pebbles Cheesecake Tacos Ingredients
For the Taco Shells
• Fruity Pebbles cereal – Adds sweetness and crunch; for a twist, try Cocoa Pebbles or Rice Krispies.
• Unsalted butter – Binds the taco shell mixture; use margarine or coconut oil if preferred.
• Granulated sugar – Sweetens both the taco shells and cheesecake filling; brown sugar can add depth of flavor.
For the Cheesecake Filling
• Cream cheese – Creates a creamy filling; ensure it’s softened for smooth mixing.
• Sour cream – Adds tanginess; Greek yogurt works as a great alternative.
• Vanilla extract – Enhances overall flavor; opt for pure vanilla for the best taste.
• Heavy cream – Adds lightness and fluffiness; whipped topping is a suitable substitute.
For Assembly and Toppings
• Finely crushed Fruity Pebbles cereal – Coats the taco shell edges; extra crushed cereal can boost texture.
• Whipped cream – Adds lightness and a lovely decoration; optional for serving.
• Fresh berries (strawberries, blueberries, raspberries) – Provide freshness and vibrant color; choose seasonal fruits for optimal taste.
• Chocolate shavings – For optional garnish; sprinkles or nuts make lovely alternatives.
• Extra Fruity Pebbles cereal – For decoration and delightful crunch in every bite.
Get ready to enjoy the delightful combo of flavors wrapped in these Fruity Pebbles Cheesecake Tacos!
Step‑by‑Step Instructions for Fruity Pebbles Cheesecake Tacos
Step 1: Prepare Taco Shell Mixture
Begin by pulsing 2 cups of Fruity Pebbles cereal in a food processor until finely crushed. In a mixing bowl, combine the crushed cereal with melted unsalted butter and granulated sugar until well blended. Preheat your oven to 350°F (175°C). Line a baking sheet with parchment paper and form small circles of the taco shell mixture, about 3-4 inches wide, ensuring they are somewhat flat for baking.
Step 2: Bake Taco Shells
Place the baking sheet in the preheated oven and bake the shaped taco shells for 8-10 minutes. Watch for the edges to turn a light golden brown, signaling they are ready. Once baked, allow the taco shells to cool on the sheet for a few minutes before gently shaping them over the edge of a bowl or muffin tin to form a taco shape. Let them cool completely.
Step 3: Prepare Cheesecake Filling
In a large mixing bowl, beat the softened cream cheese and granulated sugar together until the mixture is smooth and creamy. Gradually mix in the sour cream and pure vanilla extract until fully incorporated. Then slowly pour in the heavy cream while mixing, continuing until the filling becomes light and fluffy, which should take about 2-3 minutes.
Step 4: Chill Cheesecake Filling
Once your cheesecake filling is ready, cover the bowl with plastic wrap and refrigerate for at least 30 minutes. Chilling the filling helps it firm up, making it easier to spoon into your taco shells later. This wait is crucial for achieving the perfect texture in your Fruity Pebbles Cheesecake Tacos.
Step 5: Assemble the Tacos
After the taco shells have cooled and the cheesecake filling has chilled, it’s time to assemble your Fruity Pebbles Cheesecake Tacos! First, dip the edges of each taco shell into finely crushed Fruity Pebbles, coating them generously for added crunch. Next, fill each shell with the cheesecake mixture, using a piping bag or spoon for an appealing presentation.
Step 6: Decorate and Serve
Top your assembled tacos with whipped cream and colorful fresh berries for a delightful finish. Feel free to sprinkle additional Fruity Pebbles on top for that vibrant touch, and add chocolate shavings if desired. Serve these fun and colorful Fruity Pebbles Cheesecake Tacos immediately for the best taste and texture, allowing everyone to indulge in this whimsical dessert fresh from the kitchen.

What to Serve with Fruity Pebbles Cheesecake Tacos?
A colorful dessert like this deserves equally delightful accompaniments to create a memorable meal experience.
- Light Fruit Salad: Fresh fruits like melon, berries, and citrus add a refreshing contrast that complements the creamy cheesecake.
- Vanilla Ice Cream: Scoops of velvety vanilla ice cream make each bite richer and enhance the sweetness of the tacos.
- Chocolate Sauce Drizzle: A drizzle of warm chocolate sauce elevates the dessert to a whole new level, bringing indulgence to the sweetness.
- Sparkling Water with Mint: The effervescence and minty freshness cleanse the palate, helping to balance the rich flavors of the cheesecake.
- Mini Cupcakes: Vibrantly frosted mini cupcakes add an extra layer of fun to your dessert table, enticing both kids and adults alike.
- Creamy Milkshake: A thick and colorful milkshake mirrors the playful essence of the tacos, creating a nostalgic and whimsical pairing.
- Rainbow Sprinkles: Offering a bowl of rainbow sprinkles on the side allows guests to add their own touch of fun to the tacos, elevating their dessert experience.
- Coffee or Tea: A warm cup of coffee or a soothing herbal tea serves as the perfect ending, providing a comforting balance to the sweet delights.
- Chocolate-Covered Strawberries: These treats not only add elegance to your spread but also enhance the fruity notes found in the cheesecake.
How to Store and Freeze Fruity Pebbles Cheesecake Tacos
Fridge: Keep leftover Fruity Pebbles Cheesecake Tacos in an airtight container in the refrigerator for up to 2 days.
Freezer: For longer storage, you can freeze the assembled tacos. Wrap them in plastic wrap and then aluminum foil to prevent freezer burn, storing for up to 1 month.
Reheating: It's best to enjoy the tacos fresh, but if frozen, thaw in the refrigerator overnight and serve immediately after thawing to maintain their crunchy texture.
Assembling Tips: Reassemble if necessary right before serving to ensure the taco shells stay crispy and delightful!
Make Ahead Options
These Fruity Pebbles Cheesecake Tacos are perfect for busy home cooks who want to save time without sacrificing flavor! You can prepare the taco shells up to 24 hours in advance by storing them in an airtight container to maintain their crispiness. As for the cheesecake filling, it can be whipped up up to 3 days ahead; just refrigerate it in a sealed container to ensure it stays fresh and creamy. When you’re ready to serve, simply assemble the tacos by dipping the edges of the shells in crushed Fruity Pebbles and filling them with the chilled cheesecake mixture. These prepped components promise a quick, delightful dessert that’s just as delicious and fun!
Fruity Pebbles Cheesecake Tacos Variations
Feel free to get creative and make this recipe your own; the options are as colorful as the tacos themselves!
- Different Cereals: Swap out Fruity Pebbles for Cocoa Pebbles or Honey Bunches of Oats to give your tacos a unique twist. Each cereal brings its own flavor, enhancing your dessert experience.
- Fruit Layers: Add fresh fruit layers like sliced bananas or zingy kiwi for a burst of freshness in every bite. The result is a delightful balance of creamy cheesecake and vibrant fruit.
- Chocolate Drizzle: Elevate your tacos with a drizzle of melted chocolate or a rich berry sauce for extra indulgence. These additions can turn an already amazing dessert into something irresistibly decadent.
- Mini Versions: Create bite-sized mini tacos for parties—it’s a playful way for guests to enjoy a variety of flavors. Mini tacos are always a crowd-pleaser and make for wonderful visuals on any dessert table.
- Nutty Crunch: Incorporate toasted nuts like pecans or almonds into the filling for added texture. This nutty element offers a lovely contrast to the sweet, creamy cheesecake.
- Spiced Up: For a surprising kick, sprinkle in some cinnamon or nutmeg to the cheesecake mixture. Just a dash can enhance the overall flavor profile, giving your creation a warm, cozy vibe.
- Flavorful Whipped Cream: Whip your cream with a splash of flavored extract, like almond or orange, to add an enticing twist. It’s a simple change that can elevate the entire dessert presentation.
- Add Some Heat: For adventurous eaters, a touch of chili powder or cayenne can add a surprising yet delightful heat to your tacos. A pinch can turn the sweet into something fascinating and unforgettable!
Remember, the possibilities are endless, so let your imagination run wild! For more delightful ideas, explore our serving suggestions and discover how to make these vibrant tacos a hit at your next gathering.
Expert Tips for Fruity Pebbles Cheesecake Tacos
- Softened Cream Cheese: Ensure your cream cheese is adequately softened to prevent lumps in the filling, guaranteeing a smooth, creamy texture.
- Crunchy Taco Shells: Assemble your Fruity Pebbles Cheesecake Tacos right before serving to maintain the delicious crunch of the taco shells.
- Fun Variations: Feel free to experiment with different cereals for unique flavors or add fresh fruits to the filling for extra freshness.
- Perfect Shapes: Use a muffin tin or bowl to shape your taco shells while cooling; this step ensures they hold their lovely taco shape.
- Chill Time Matters: Don’t skip the chilling step for your cheesecake filling; it helps it firm up beautifully, making the assembly smoother and more enjoyable.

Fruity Pebbles Cheesecake Tacos Recipe FAQs
What should I look for when selecting Fruity Pebbles cereal?
Absolutely! When selecting Fruity Pebbles, check for an intact package, ensuring freshness. Look for vibrant colors and avoid boxes with dark spots or damage, as these can indicate age or exposure to moisture.
How should I store leftover Fruity Pebbles Cheesecake Tacos?
You can keep any leftover Fruity Pebbles Cheesecake Tacos in an airtight container in the refrigerator for up to 2 days. However, to maintain the delightful crunch of the taco shells, I recommend assembling them just before serving.
Can I freeze Fruity Pebbles Cheesecake Tacos?
Yes, you can freeze them! Wrap the assembled tacos individually in plastic wrap, then cover with aluminum foil to protect them from freezer burn. They can last up to 1 month in the freezer. When you’re ready to enjoy, thaw them overnight in the refrigerator and serve them immediately for the best texture.
What if my cheesecake filling turns out lumpy?
If your filling is lumpy, it might be due to the cream cheese not being softened enough. To fix it, let the filling sit out for a bit and use a hand mixer to blend it until smooth. If you find lumps during mixing, continue to whisk it until you reach that lovely creamy consistency.
Are there any dietary considerations I should keep in mind?
Yes! These Fruity Pebbles Cheesecake Tacos are vegetarian-friendly. However, if you're serving guests with allergies, be sure to inform them that the recipe contains dairy, and check for any specific allergies related to the ingredients used, especially the cereals and toppings. Always opt for gluten-free cereals if needed!
Indulgent Fruity Pebbles Cheesecake Tacos for a Sweet Surprise
Ingredients
Equipment
Method
- Pulse the Fruity Pebbles cereal in a food processor until finely crushed. In a mixing bowl, combine the crushed cereal with melted unsalted butter and granulated sugar until well blended. Preheat your oven to 350°F (175°C) and line a baking sheet with parchment paper.
- Form small circles of the taco shell mixture, about 3-4 inches wide, ensuring they are somewhat flat for baking. Place the baking sheet in the oven and bake the shaped taco shells for 8-10 minutes until edges turn light golden brown.
- Once baked, allow the taco shells to cool on the sheet for a few minutes before gently shaping them over the edge of a bowl or muffin tin to form a taco shape. Let them cool completely.
- In a large mixing bowl, beat together the softened cream cheese and granulated sugar until smooth. Gradually mix in the sour cream and pure vanilla extract, then slowly pour in the heavy cream while mixing until light and fluffy, about 2-3 minutes.
- Cover the cheesecake filling with plastic wrap and refrigerate for at least 30 minutes to help it firm up.
- Dip the edges of each taco shell into finely crushed Fruity Pebbles, then fill each shell with the cheesecake mixture using a piping bag or spoon.
- Top with whipped cream and fresh berries, sprinkle additional Fruity Pebbles and chocolate shavings if desired, and serve immediately.


Leave a Reply